Welcome to another in the (rather) long running series of posts on this guitar. Just to recap, the CP7MO-TT is an Orchestra Model (OM) sized guitar with a torrefied spruce top (referred to as a ‘thermal top’ by Takamine, hence the TT in the model name) and Ovangkol back and sides. P7 in the model name indicates that it comes from the pro series 7 and the C that it has some custom features that make it a bit different from the other guitars in that model series. The guitar has a 45mm/1-3/4″ nut, which is rare but not unheard of among Takamine guitars – one thinks of the old Bluegrass and Supernatural series. To my ear, Ovangkol (Guibourtia ehie) is “rosewood plus” – depending on the application, it has more midrange or, in the case of this specific guitar, more top end. It’s a good alternative to rosewood in my opinion.
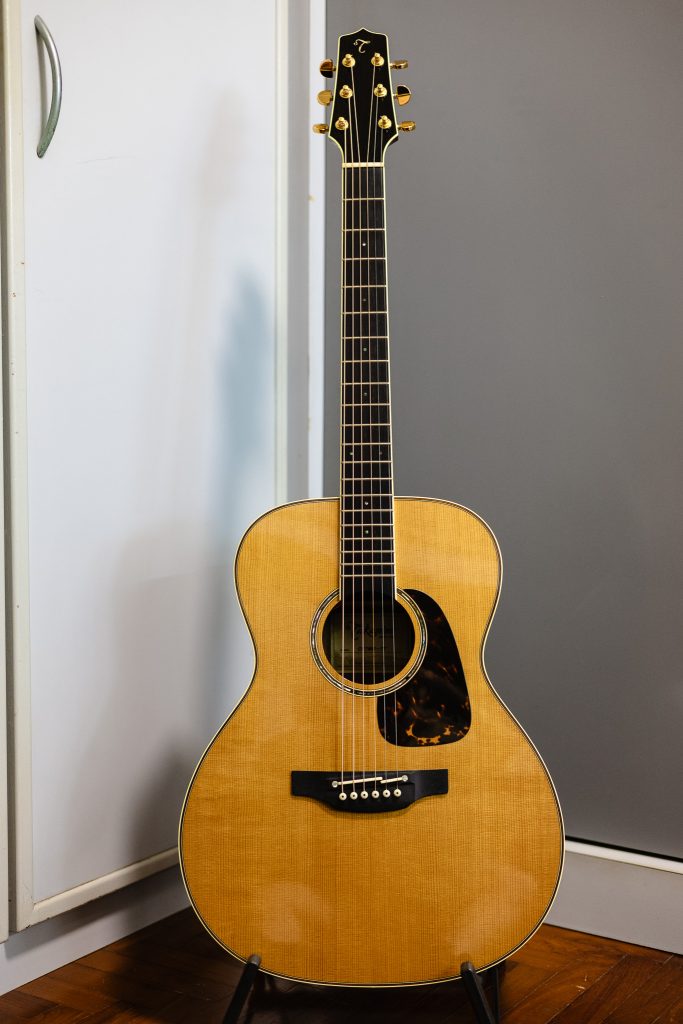
Now, I’ll be the first to admit that over the years I have struggled with this guitar. First of all with getting it easy to play: it has an unusually chunky neck compared to my other Taks and seems to prefer custom light (11-52) strings to the factory-fitted 12-53s. The line-driver preamp is completely concealed within the guitar and when in situ has no player adjustable tone or volume controls. These controls do exist, but in order to access them the preamp needs to be removed from the guitar, which involves unscrewing the output socket and undoing a wire clip inside the guitar:
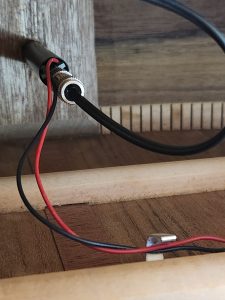
The photo on the left was taken through the soundhole, looking towards the tail block of the guitar. Visible are the single black cable coming from the pickup, terminated into a 3.5mm jack that plugs into the end of the line driver preamp; as well as the black and red wires coming from the internally mounted 9V battery. As you can see, the good folk at Takamine have considered the possibility of the owner removing the preamp, and left plenty of slack in the internal wiring, but have placed a clip around the wires coming from the battery, presumably to keep them from moving around and making noise. This clip needs to be undone to get the preamp out – it’s flat pressed metal, and requires some sort of tool to undo, all while working blind through the soundhole. Once that is over you can get the preamp out:
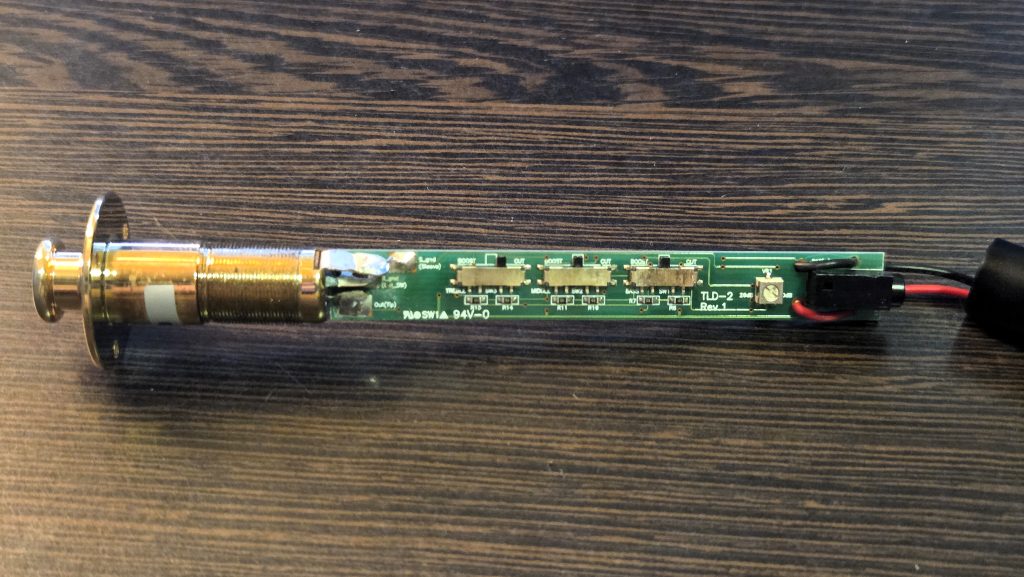
Looking across the circuit board from left to right, you can see EQ dip switches for treble, mids and bass and then a gain control on the far right. This assembly is normally covered by a metal sleeve (just visible on the right) that screws into the threads you can see just below the preamp mounting flange on the left.
Despite tweaking the EQ controls on the preamp, the amplified tone of this guitar has always seemed too bright to my ear, and rather brittle sounding. I’m also not a fan of having the battery inside the guitar, a placement which makes quick battery changes impossible, an important consideration when playing live. I have toyed with the idea of selling this guitar, but this model was relatively rare and is now discontinued, along with almost all of Takamine’s OM-sized guitars. As a result, this year I decided to convert this guitar to a passive instrument, by removing the internal electronics and wiring the pickup directly to the output socket. My aim: take the line driver preamp and its battery out of the signal chain and allow me to use an external preamp which would be more fully-featured and hopefully better sounding.
The first step in this process was to verify that the Palathetic pickup was capable of standing on its own. In order to do this I corresponded with Mr Bill Sutherland, aka Mr Takamine USA. Ever helpful, he assured me that this was perfectly doable, and that the pickup on its own had an output that was only slightly lower than when assisted by the onboard preamp. Of course, running a piezo pickup directly out of the guitar means that you need to be mindful of impedance matching, and I had already planned to use one of my Fishman preamps as the first stop for the signal – more on that later.
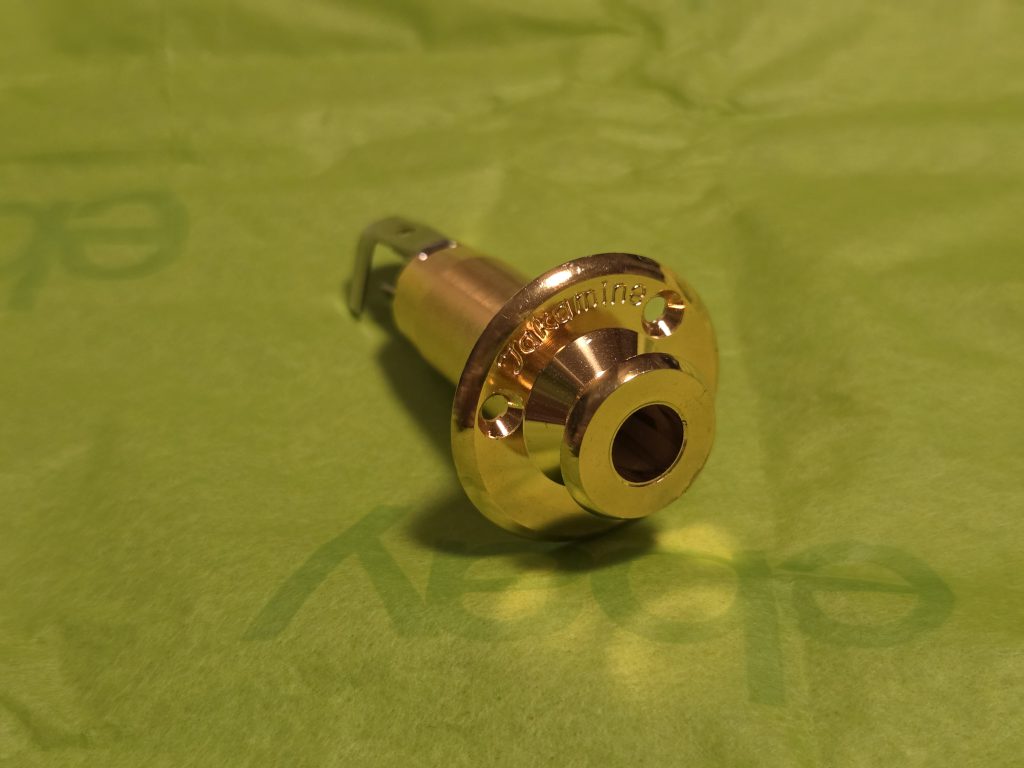
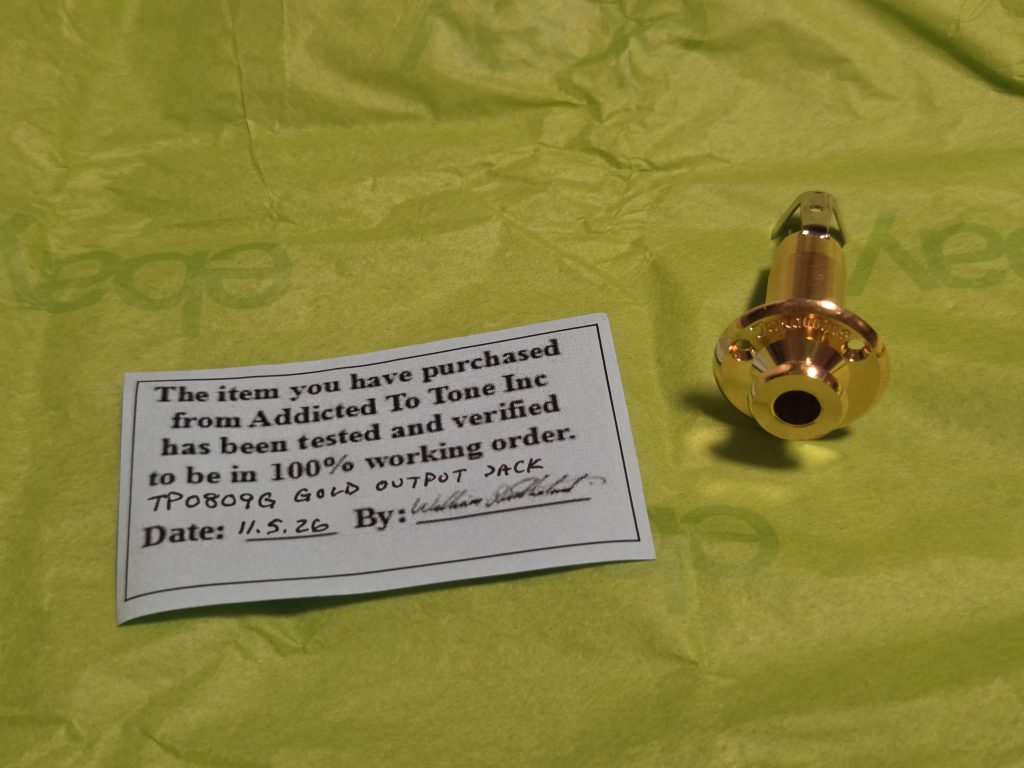
The second step was to procure a new output socket: in the case of the line driver preamp the output socket is integral to the preamp, bring soldered directly to the circuit board. I thus ordered an OEM Takamine output socket from Mr Sutherland, which arrived after a few weeks, having been duly tested by him personally, and with a full set of installation instructions:
The third and final step was to have the work done: this part I entrusted to Mr Jerald Lee from Guitar.Fix in Singapore, an experienced luthier with the highest of standards, who was happy to do this sort of custom work. I asked him to document the process, and the pictures below are all courtesy of him.
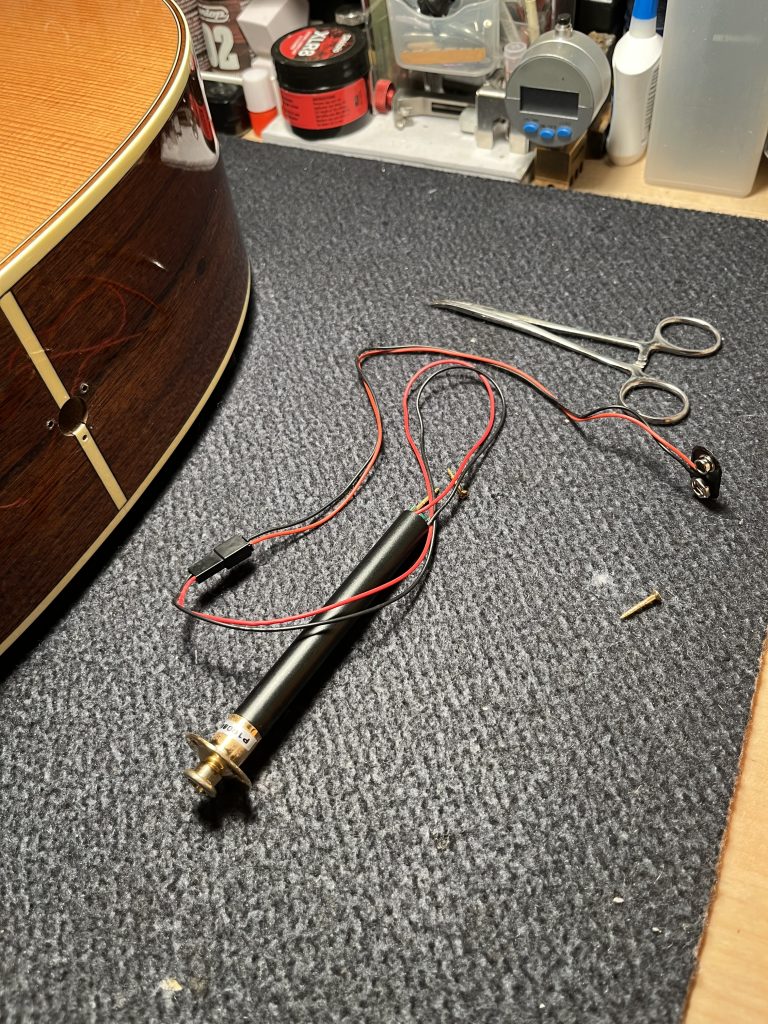
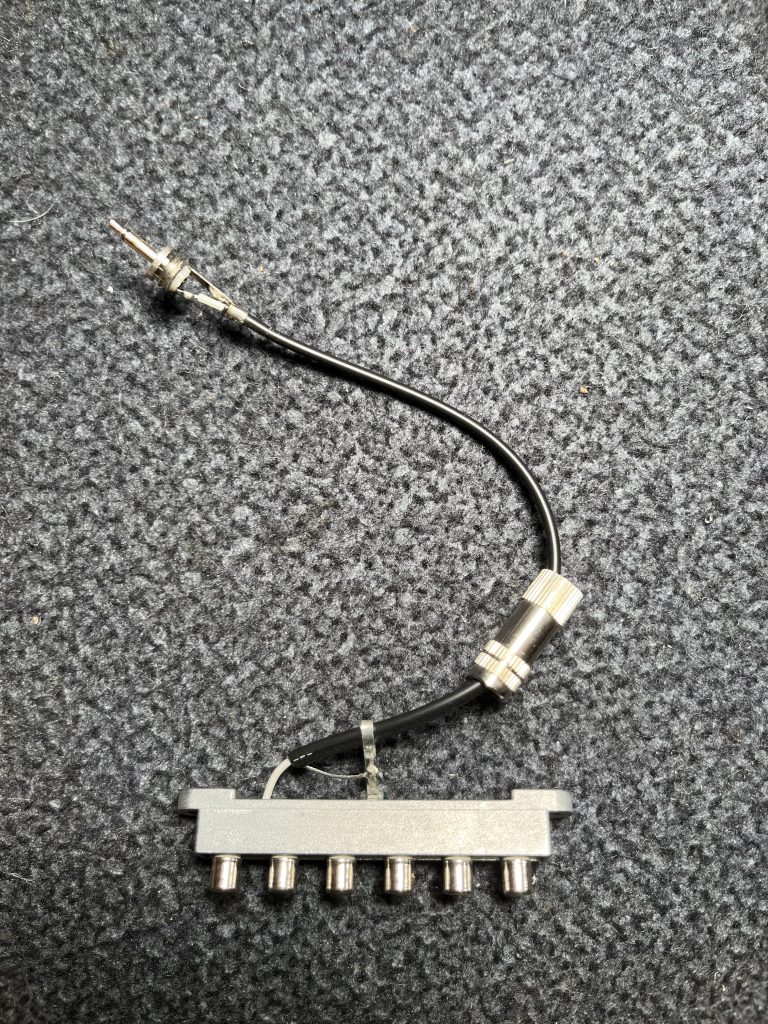
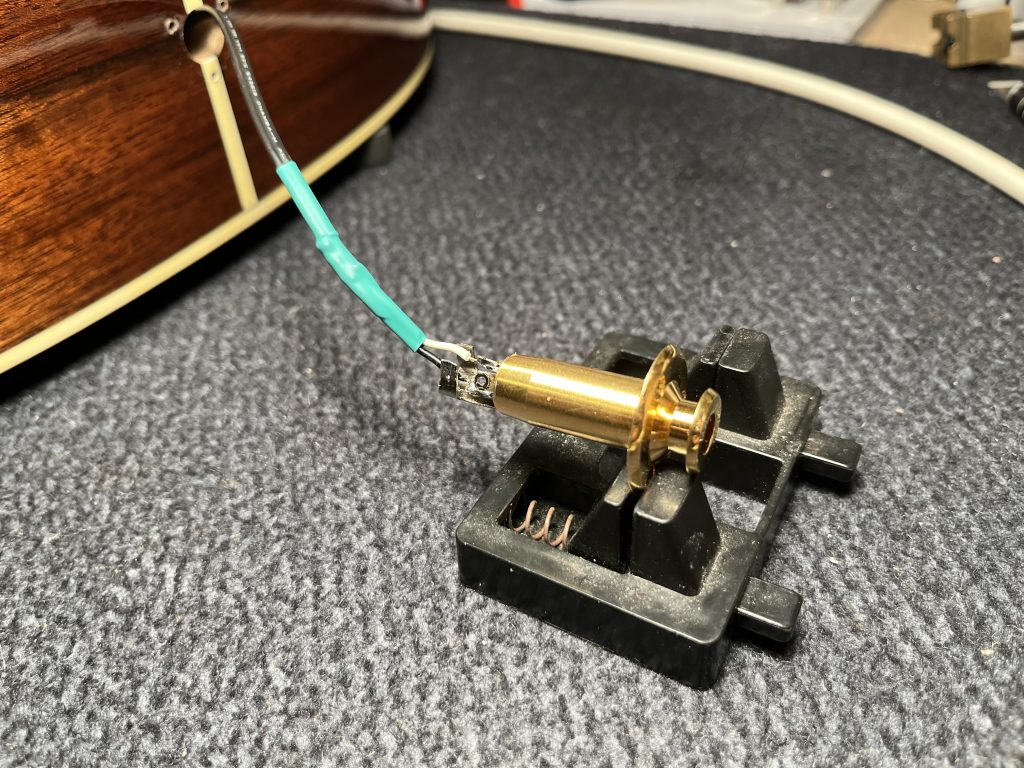
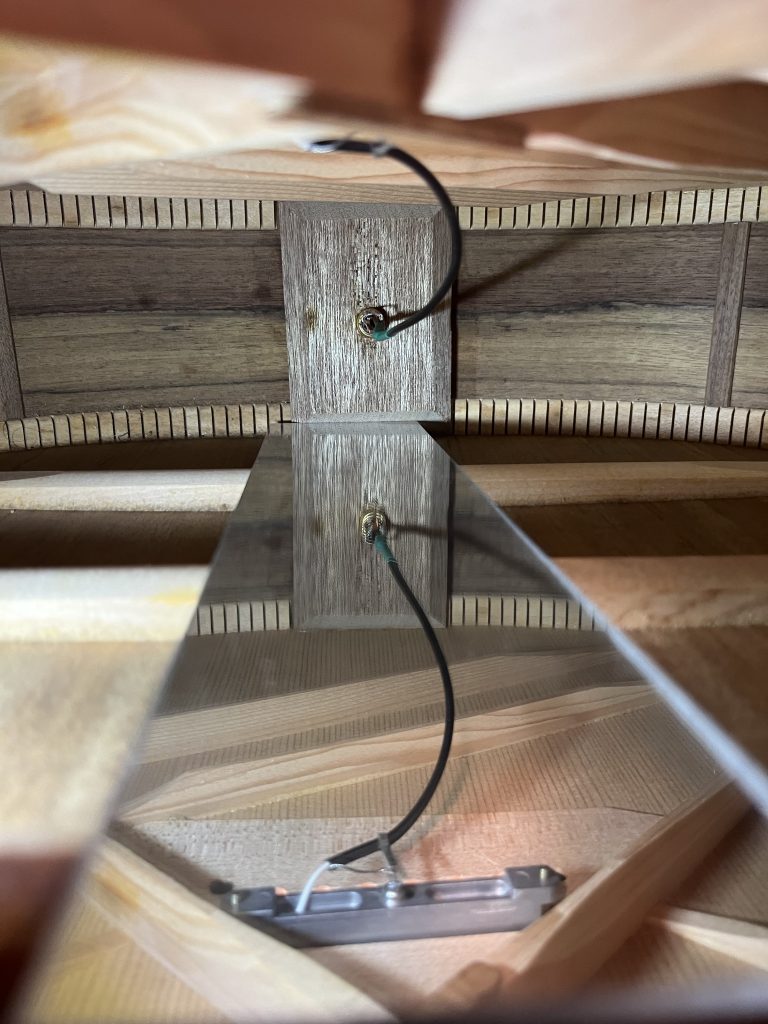
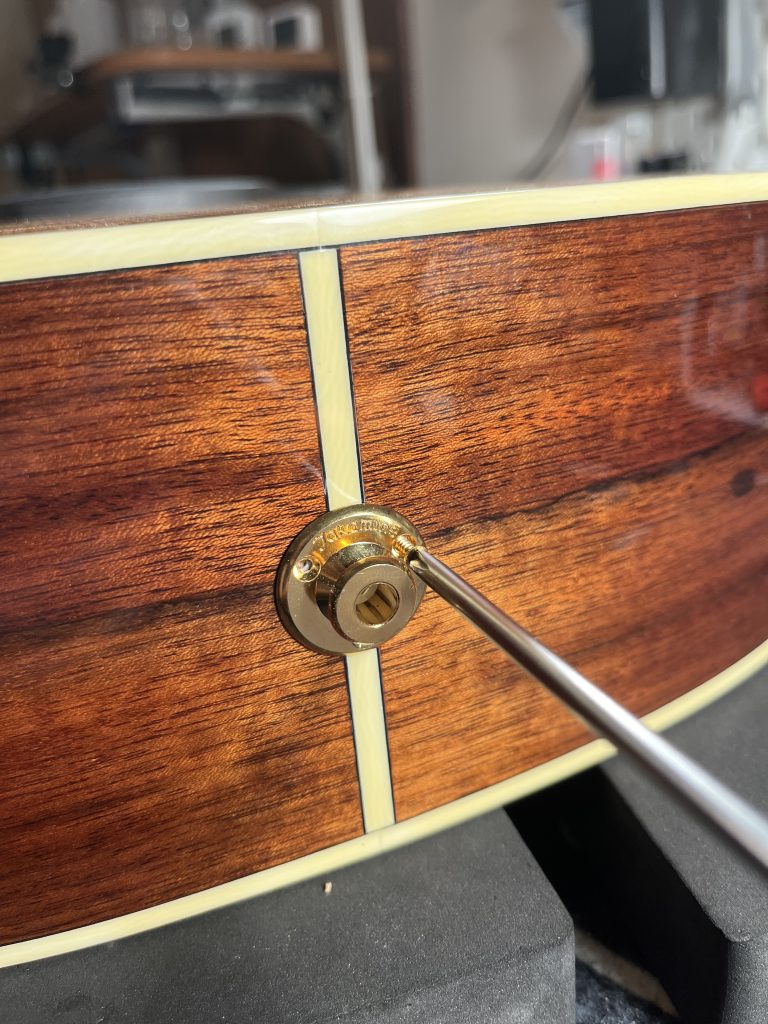
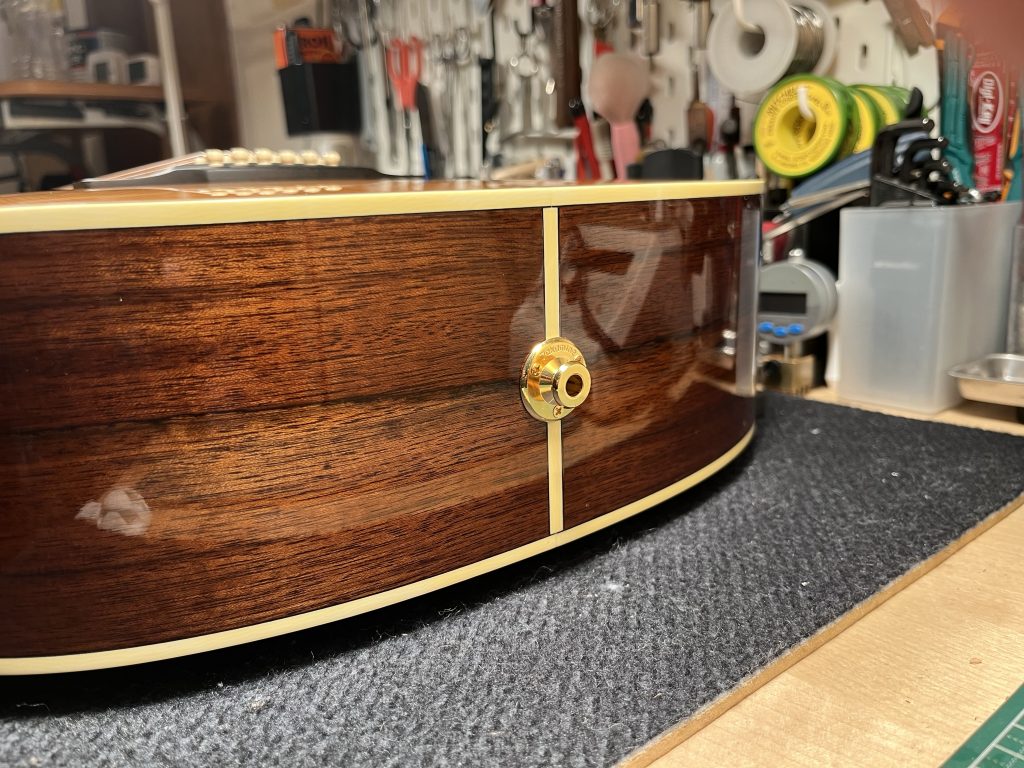
What the above pictures do not show is the amount of care and attention to detail involved in the installation: Jerald told me that he had to measure the existing pickup output cable and then determine how long of an extension was needed. Just one of the many reasons I entrusted the installation to him!
So, how has it worked out? In a word – perfectly! In three words: exactly as anticipated. The guitar has slightly less output without the preamp – perhaps one or two additional clicks on my preamp gain knob. I now don’t have to worry about battery changes and can use any external preamp of my choosing. The sound is classic Takamine: perfectly usable ‘out of the box’, but can of course be improved with a bit of EQ – in this case a slight boosting of the lows. The mids can be cut for a smoother sound, boosted for a more cutting sound, or just left flat. Some samples:
This guitar is now definitely a keeper! Thank you Mr Bill Sutherland for your generous advice and for supplying the new output socket. Thank you Jerald for your meticulous attention to detail, and for making this project a success.
I think I’ll go play some guitar now!